
spark
my tinkerer journey into the fantastic 3D printing world, cnc, rc cars and such…
Voron 0.1: Adding a Nevermore Micro v4
A Nevermore is a carbon fume filter that helps reduce fumes and odors when printing in an enclosure. It’s a no brainer if you plan on printing ABS / ASA. For this little Voron 0.1, I’ll build the Nevermore Micro v4.
So, let’s build one!
BOM
- [1x] 5015 blower fan
- [8x] M3x6 SHCS
- [2x] M3x10 BHCS
- [4x] M3x0.5 heatset inserts
- [4x] M3 T-Nut + T-Nut 1515 holders (recommended)
- [8x] 6x3 cylindrical magnets
- Acid-free activated carbon pellets (be careful and test your carbon. See below.)
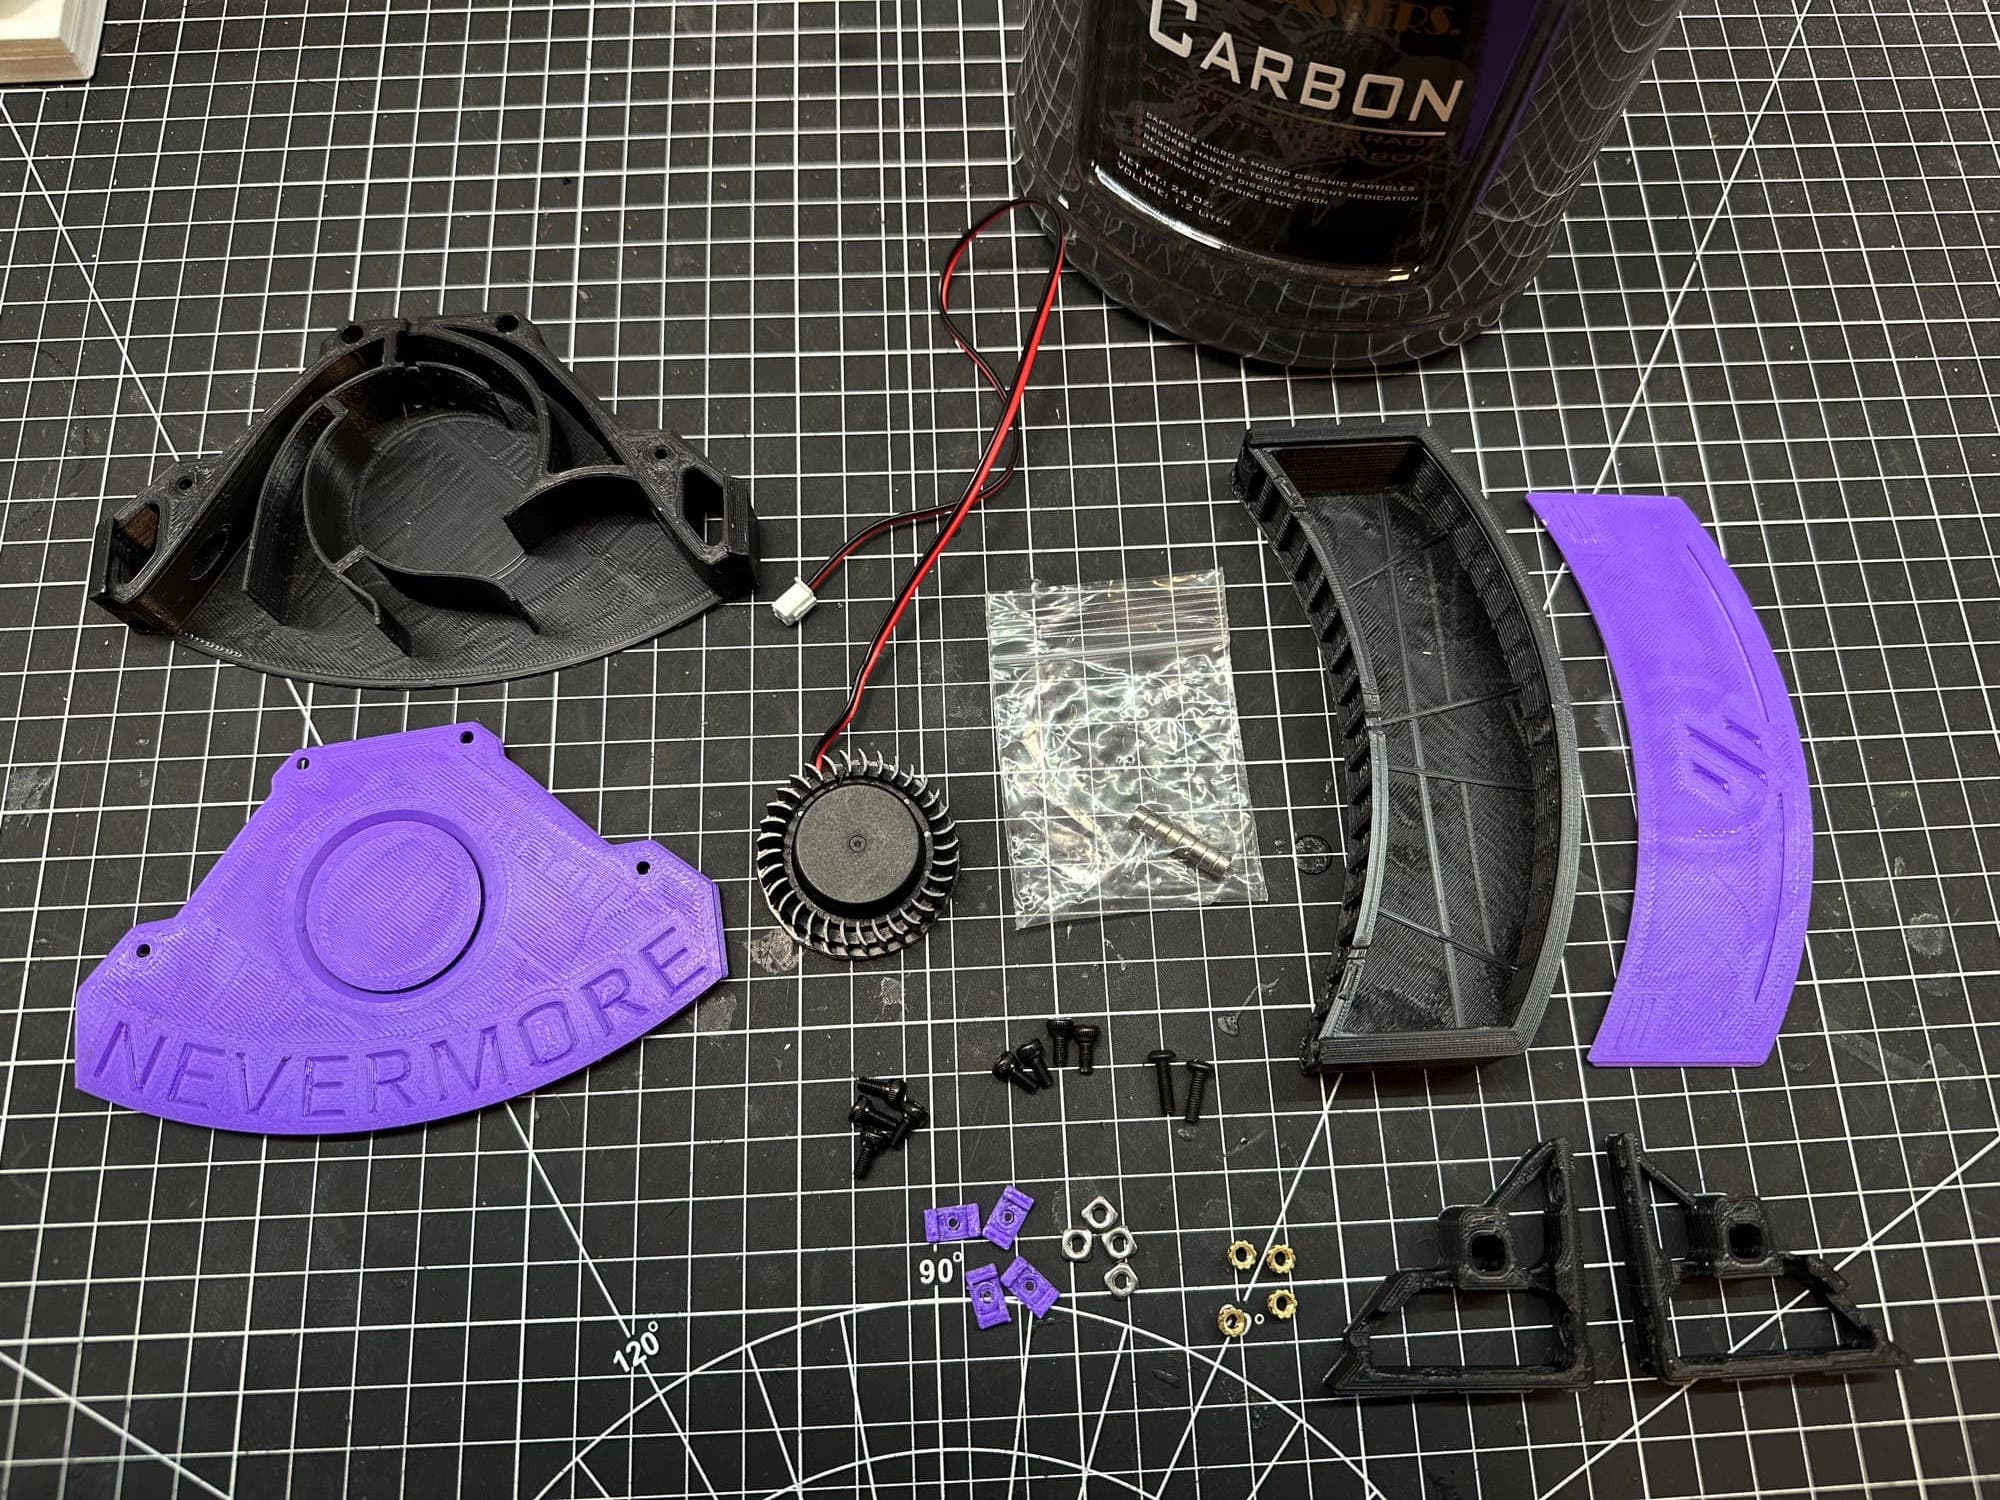
The BOM in picture with the not so great printed parts but they’ll do just fine.
Printing
- [Material] Polymaker PolyLite ABS — Black (PE01001)
- [Material] Polymaker PolyLite ABS — Purple (PE01008)
The parts are standard and did not require any support nor adhesion strategy. I printed mine in ABS to make sure they resist heat within the enclosure.
Testing the carbon pellets
It is really important to use the proper carbon as stated in the Nevermore repository. There is a few horror story of carbon completely destroying a printer in a matter of minutes. But how can we test it?
I stumble upon a video using a box to test the carbon before mounting the Nevermore into the printer. The solution looked good to me.
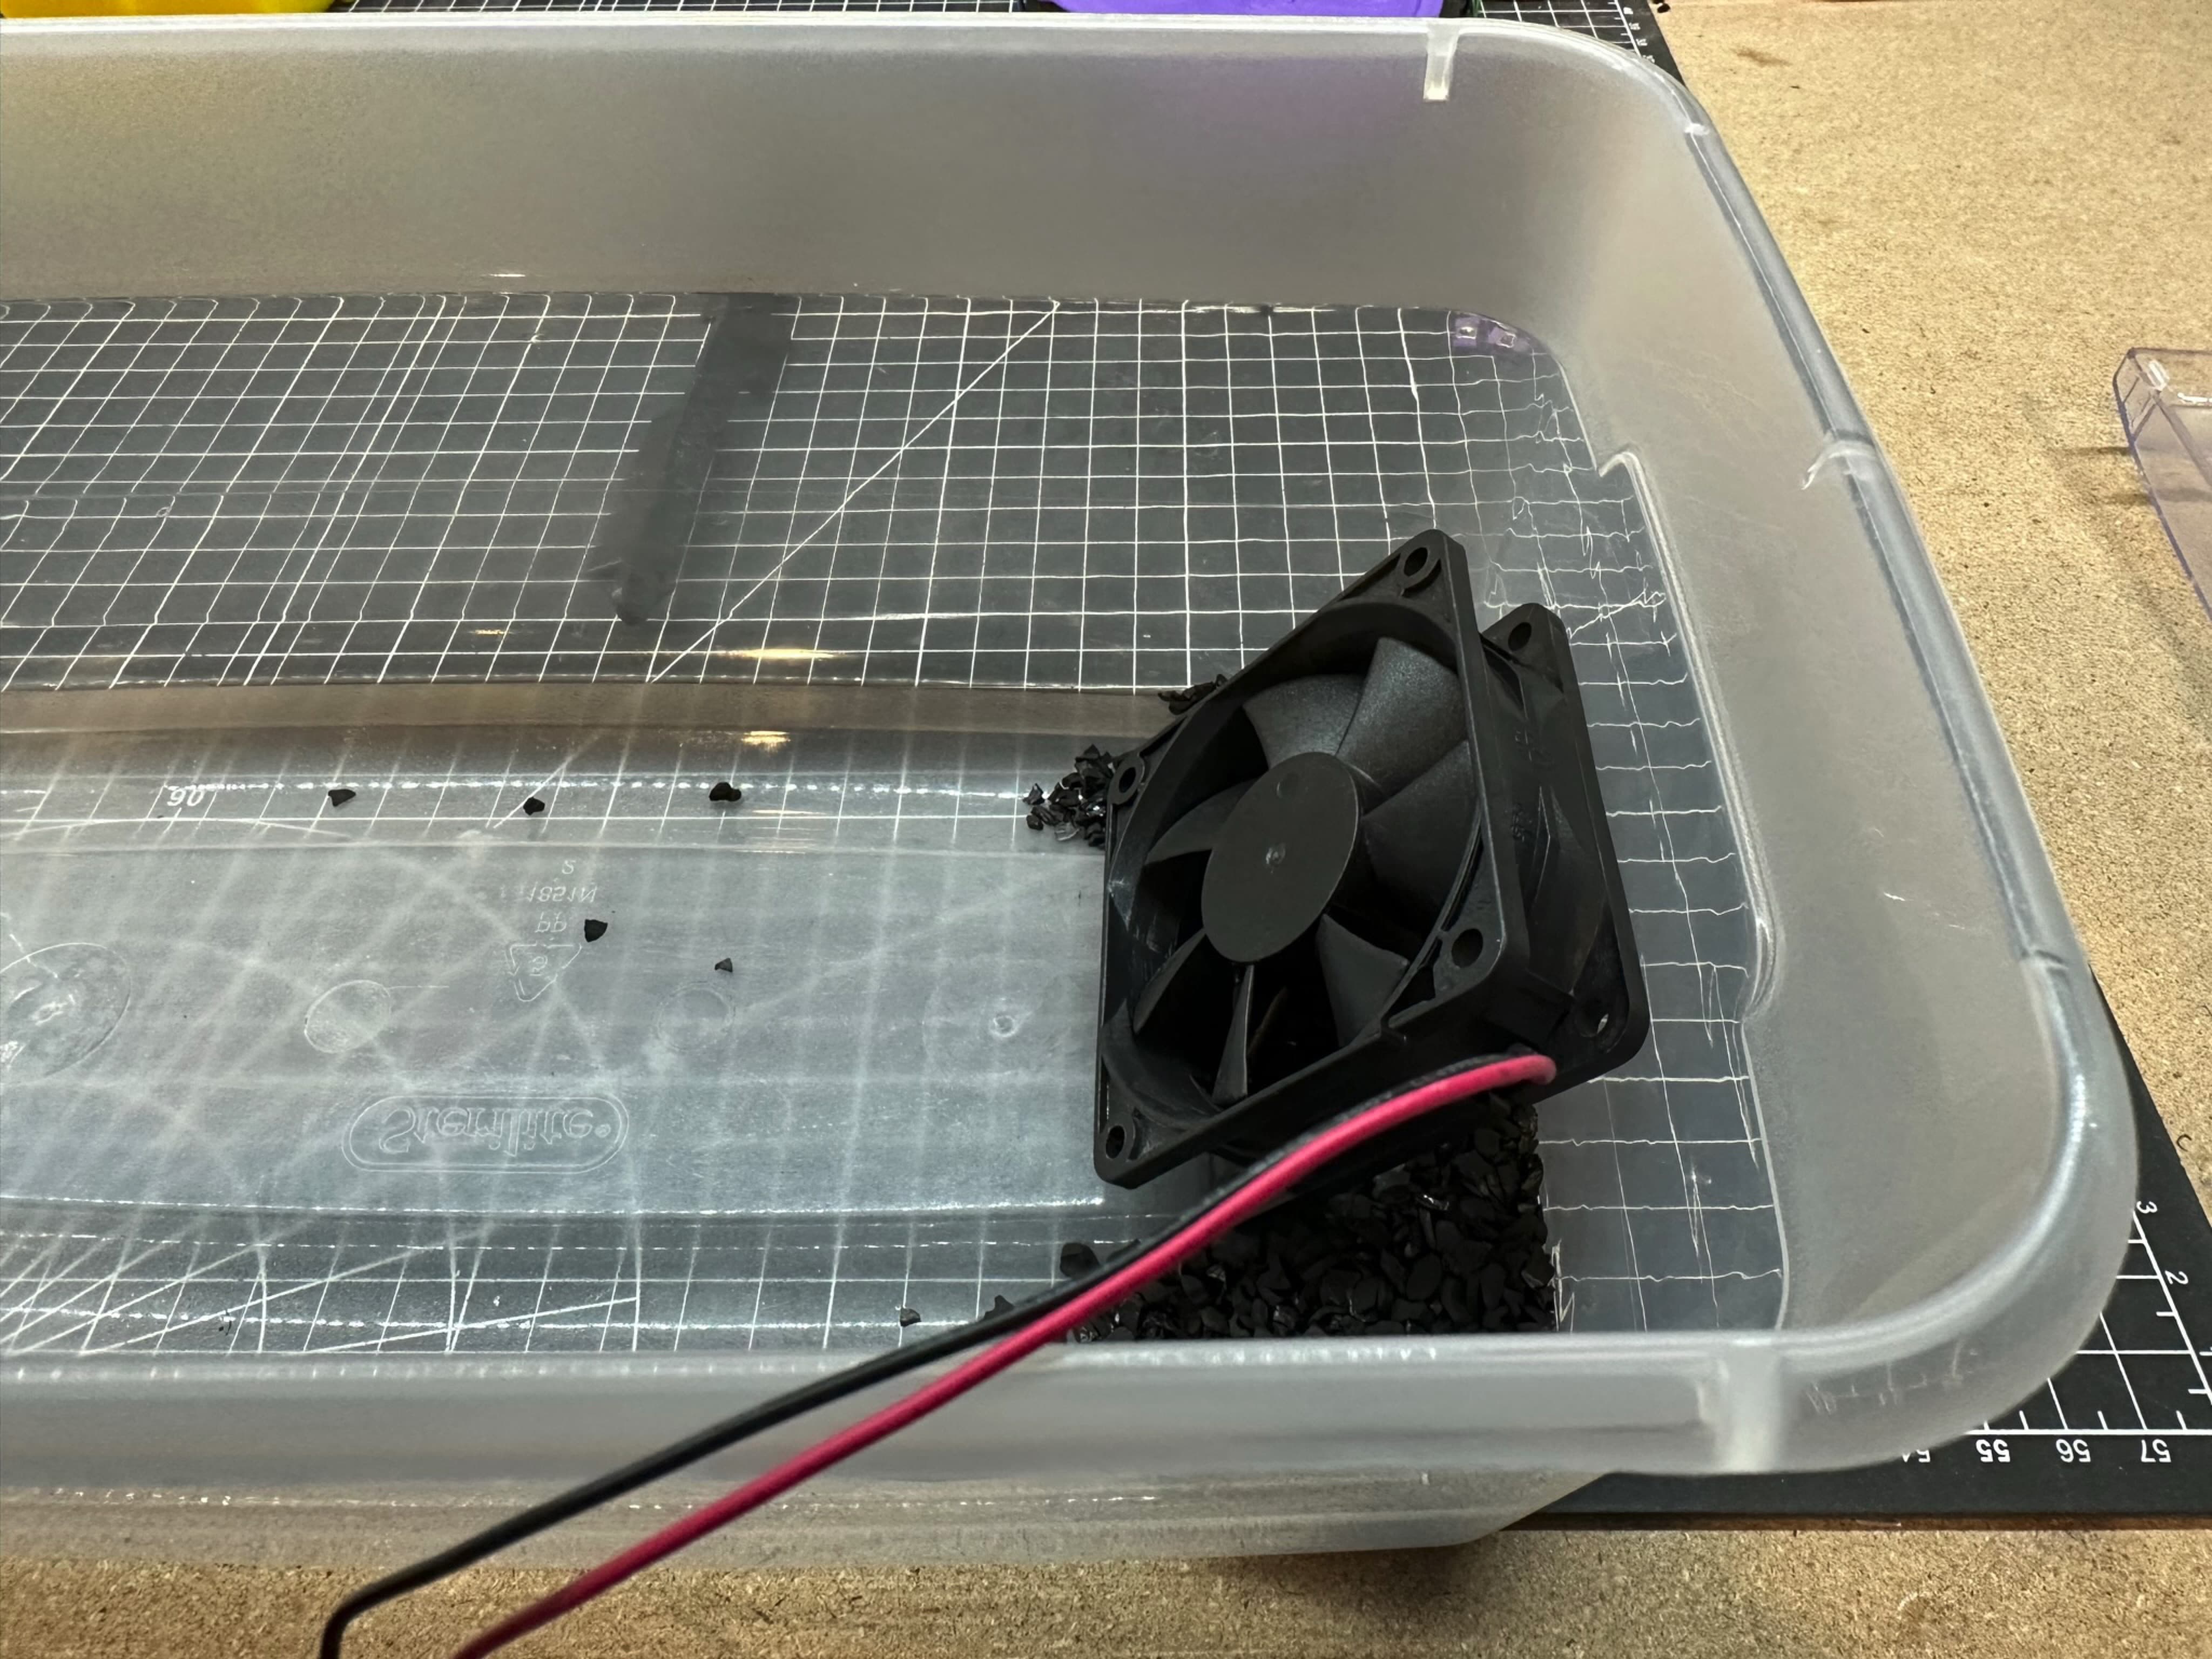
I removed the led on the container to take the picture but it is important to keep it while running the test.
I put some M3×10 socket screw covered with the carbon and a running fan for about an hour. The screws were still intact at the end and did not oxide at all 🎉 This indicates my carbon is usable in the Nevermore but I could not find any information about the microporosity of it. I’ll have to check that later. For now, it will do.
Build
Cutting the fan
The first roadblock I met was that I did not understand how the fan was supposed to be installed. A 5015 blower fan is way larger than the Nevermore Micro. How is it supposed to be installed? Well, you have to cut it! After, simply glue it to the bottom of the plenum.

⚠️ Warning: Make sure you wear goggles when cutting the fan.
Heatset inserts
I don’t know why but I love putting heatset inserts in my prints. Check out this heat press I build a few months earlier. I’m still learning how to use it (as you can see by the depth of the inserts) but it really help inserting heatset straight.
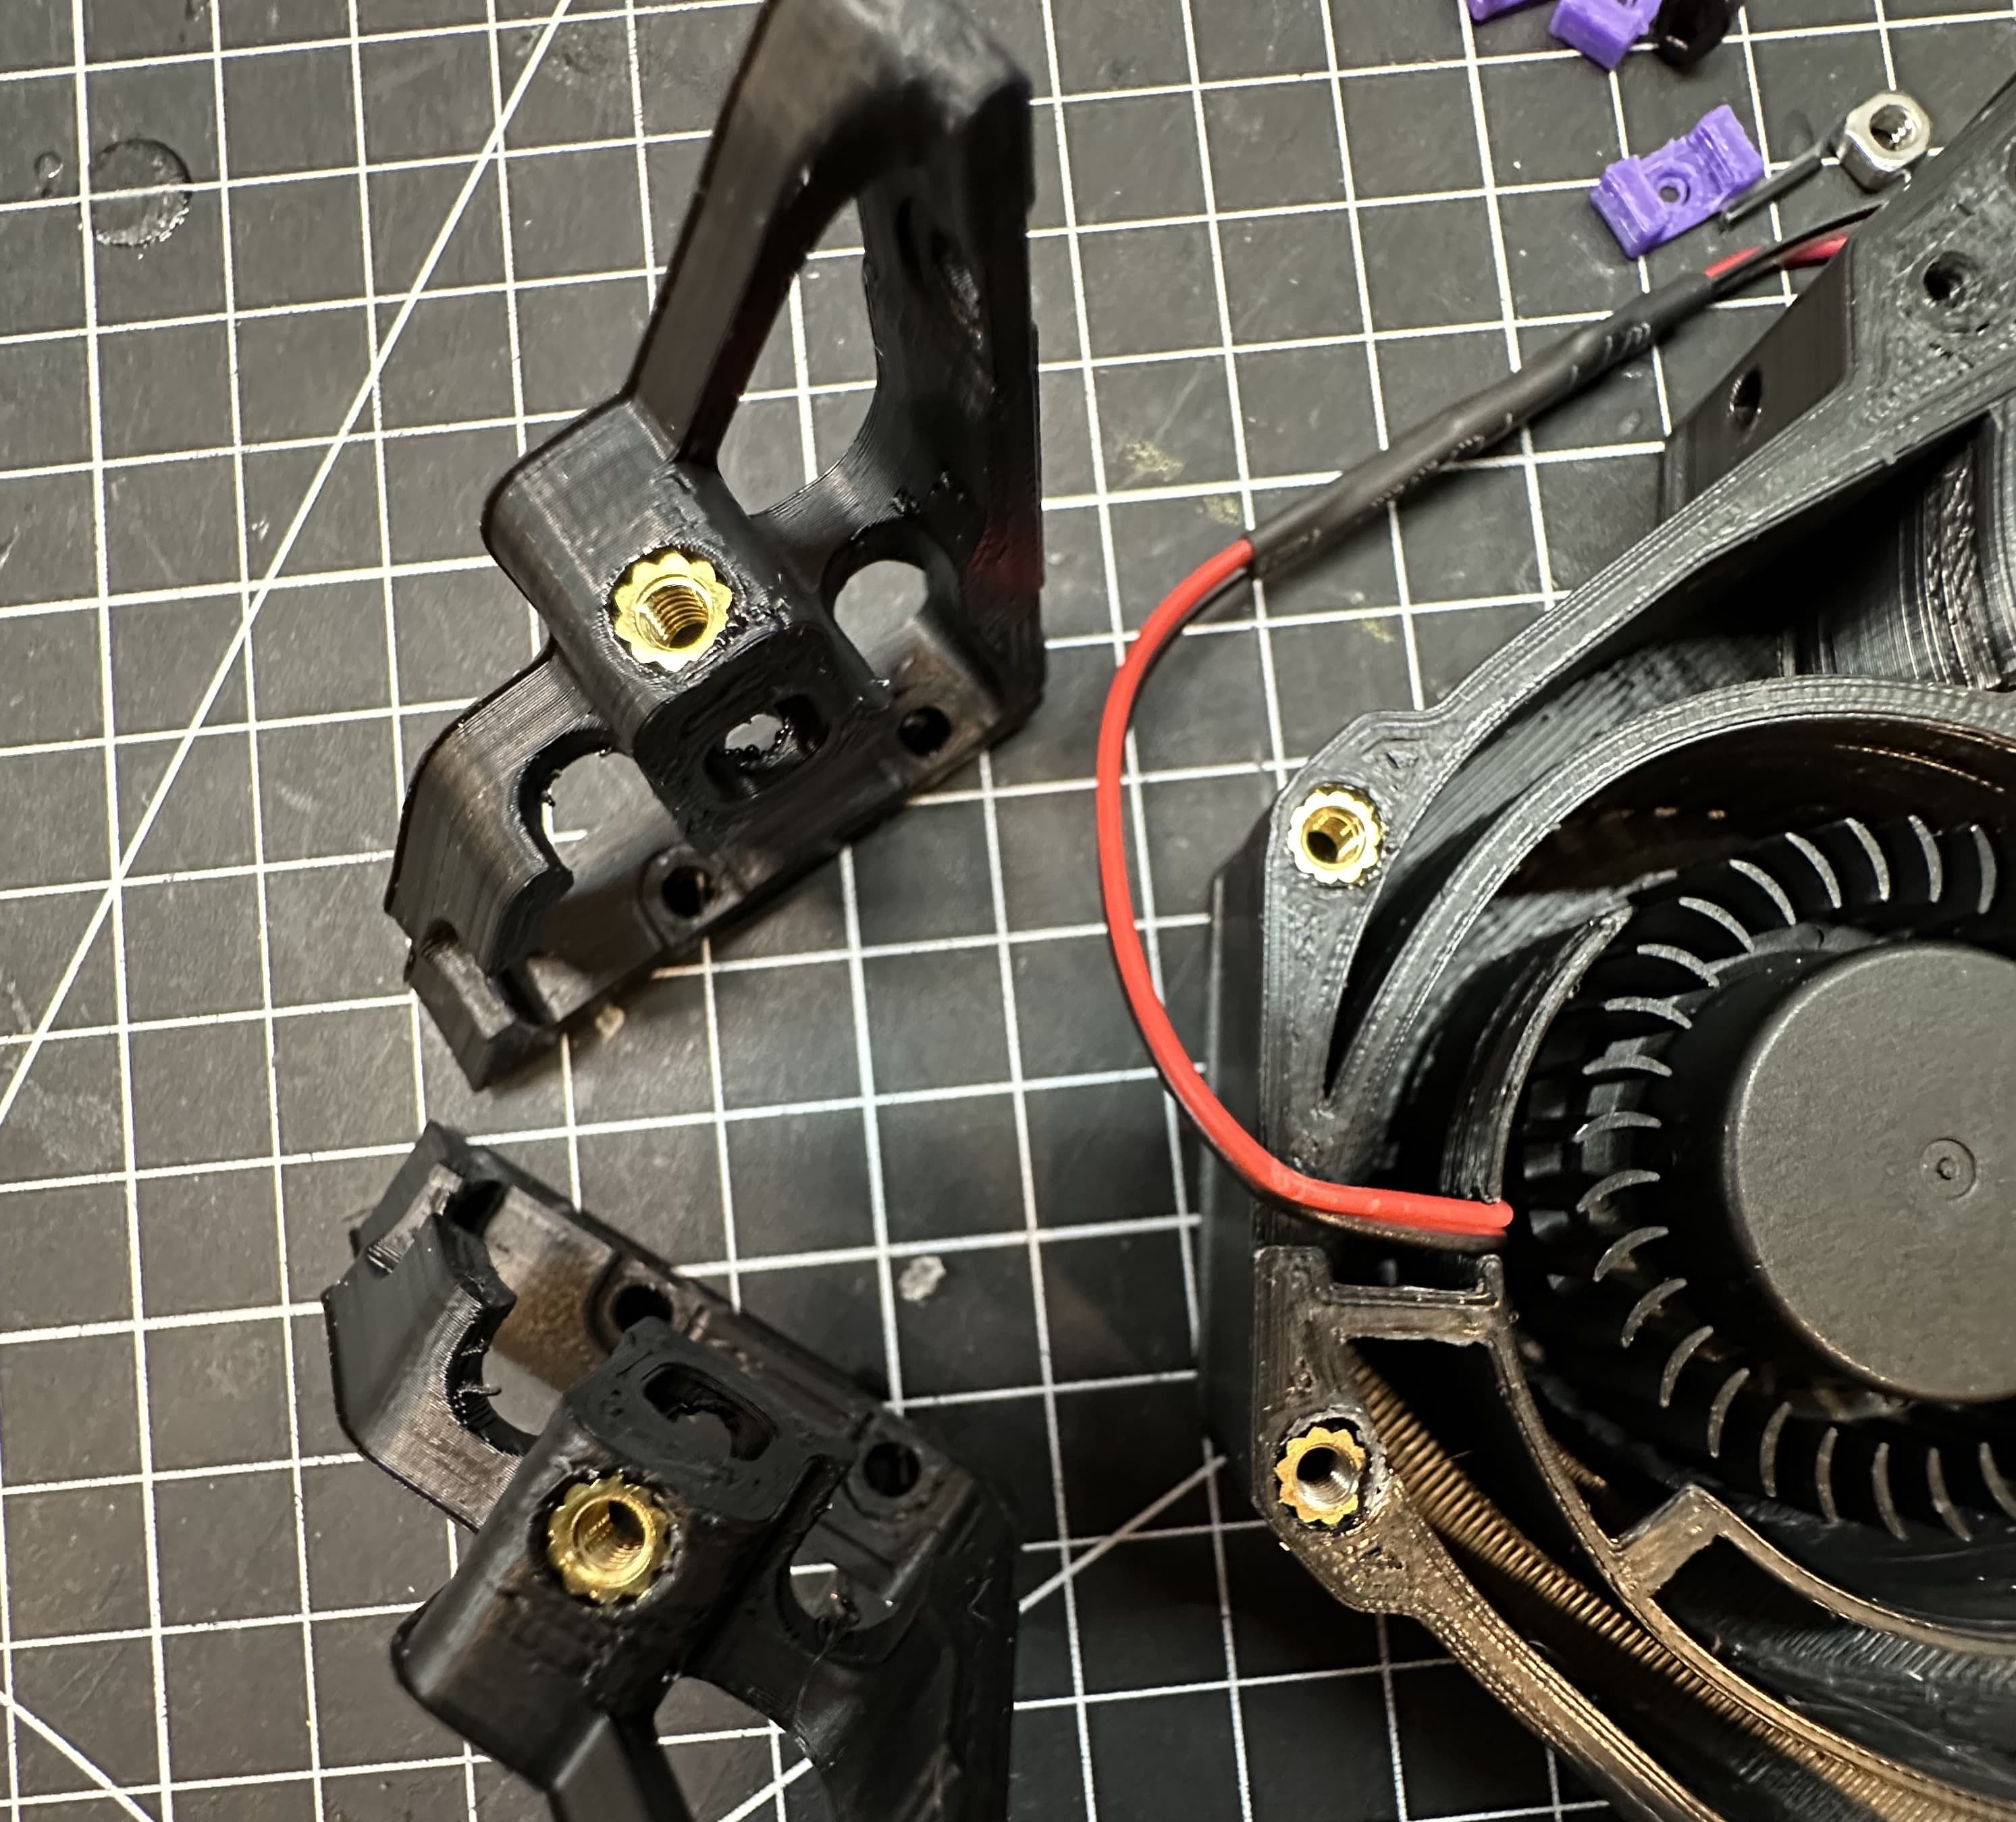
There is 4 heatset inserts to add to the Nevermore, 2 on the plenum and one on each of the bases.
Assembling
On both the cartridge and the plenum we install 4 magnets. Make sure you check the polarity before gluing them into place to avoid a bad surprise.
Finally, screw 4 M3×6 to keep the lid in place on the plenum.
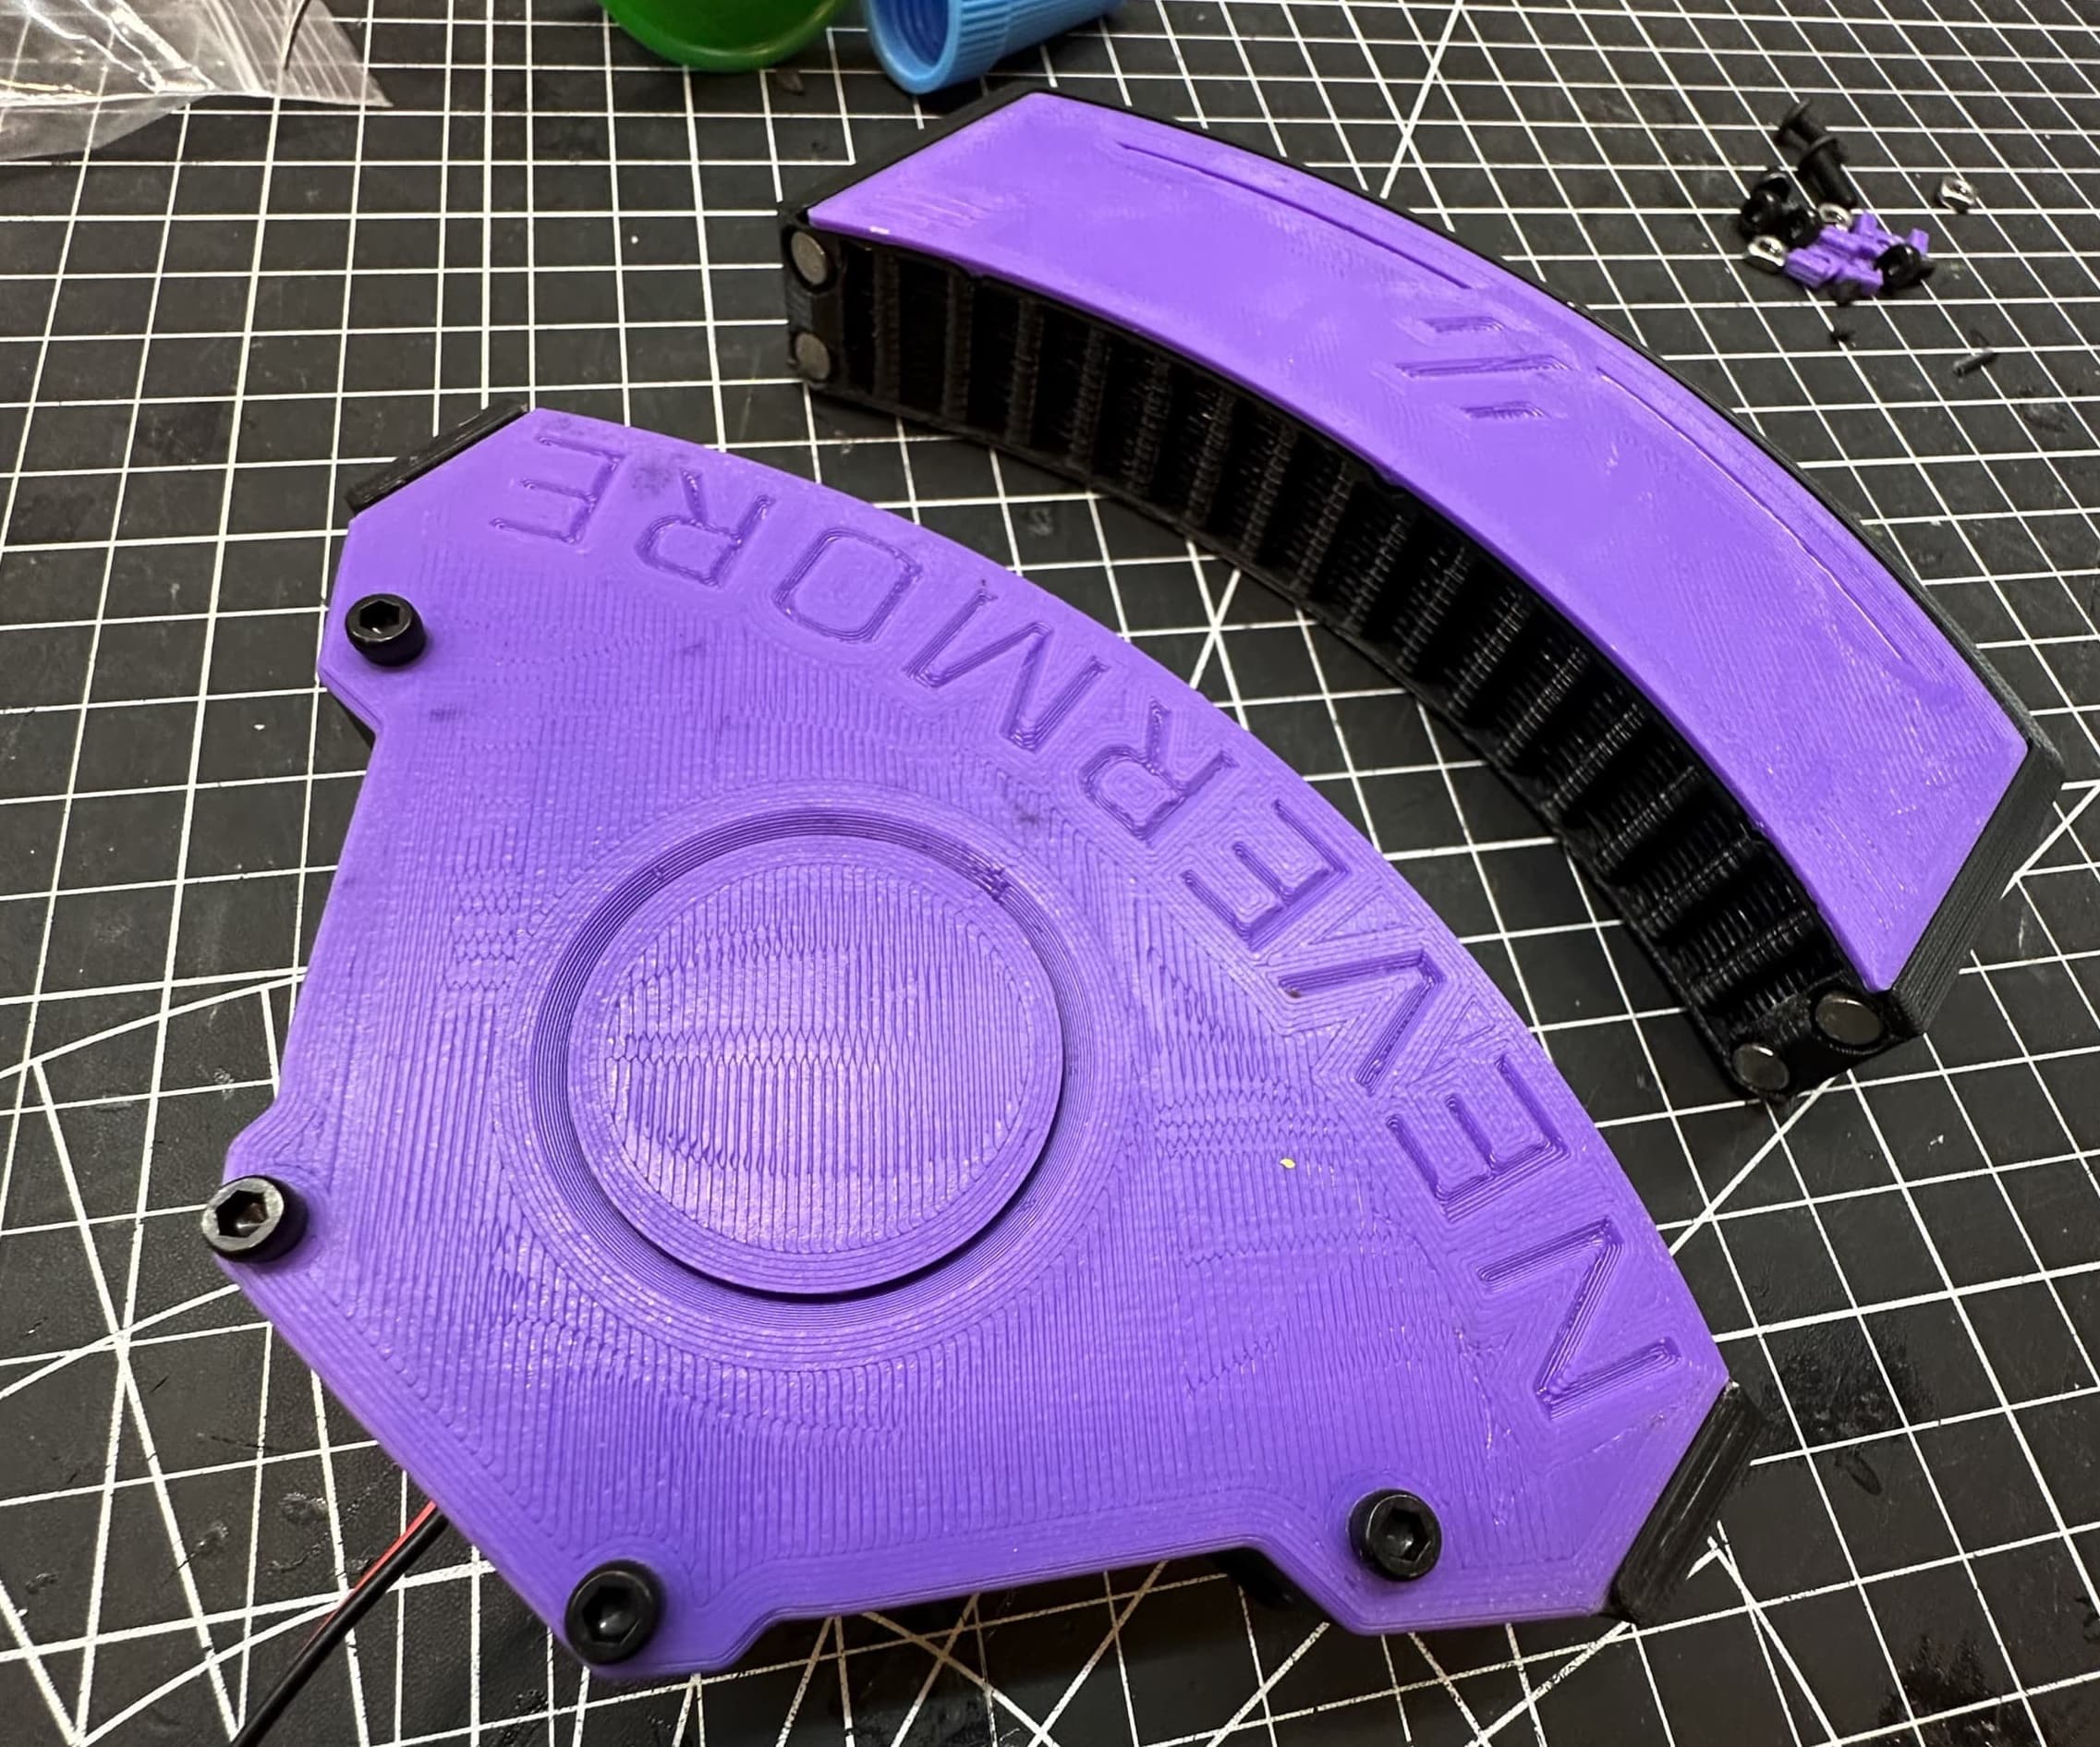
Run a fan test before installing the Nevermore to its final location. I had to sand the lid a little bit since it was adding pressure on my fan which preventing it to turn. Better to check that sooner than later.
Installation
Inserting the nuts
There is a total of 4 nuts required to put the Nevermore Micro mount in place.
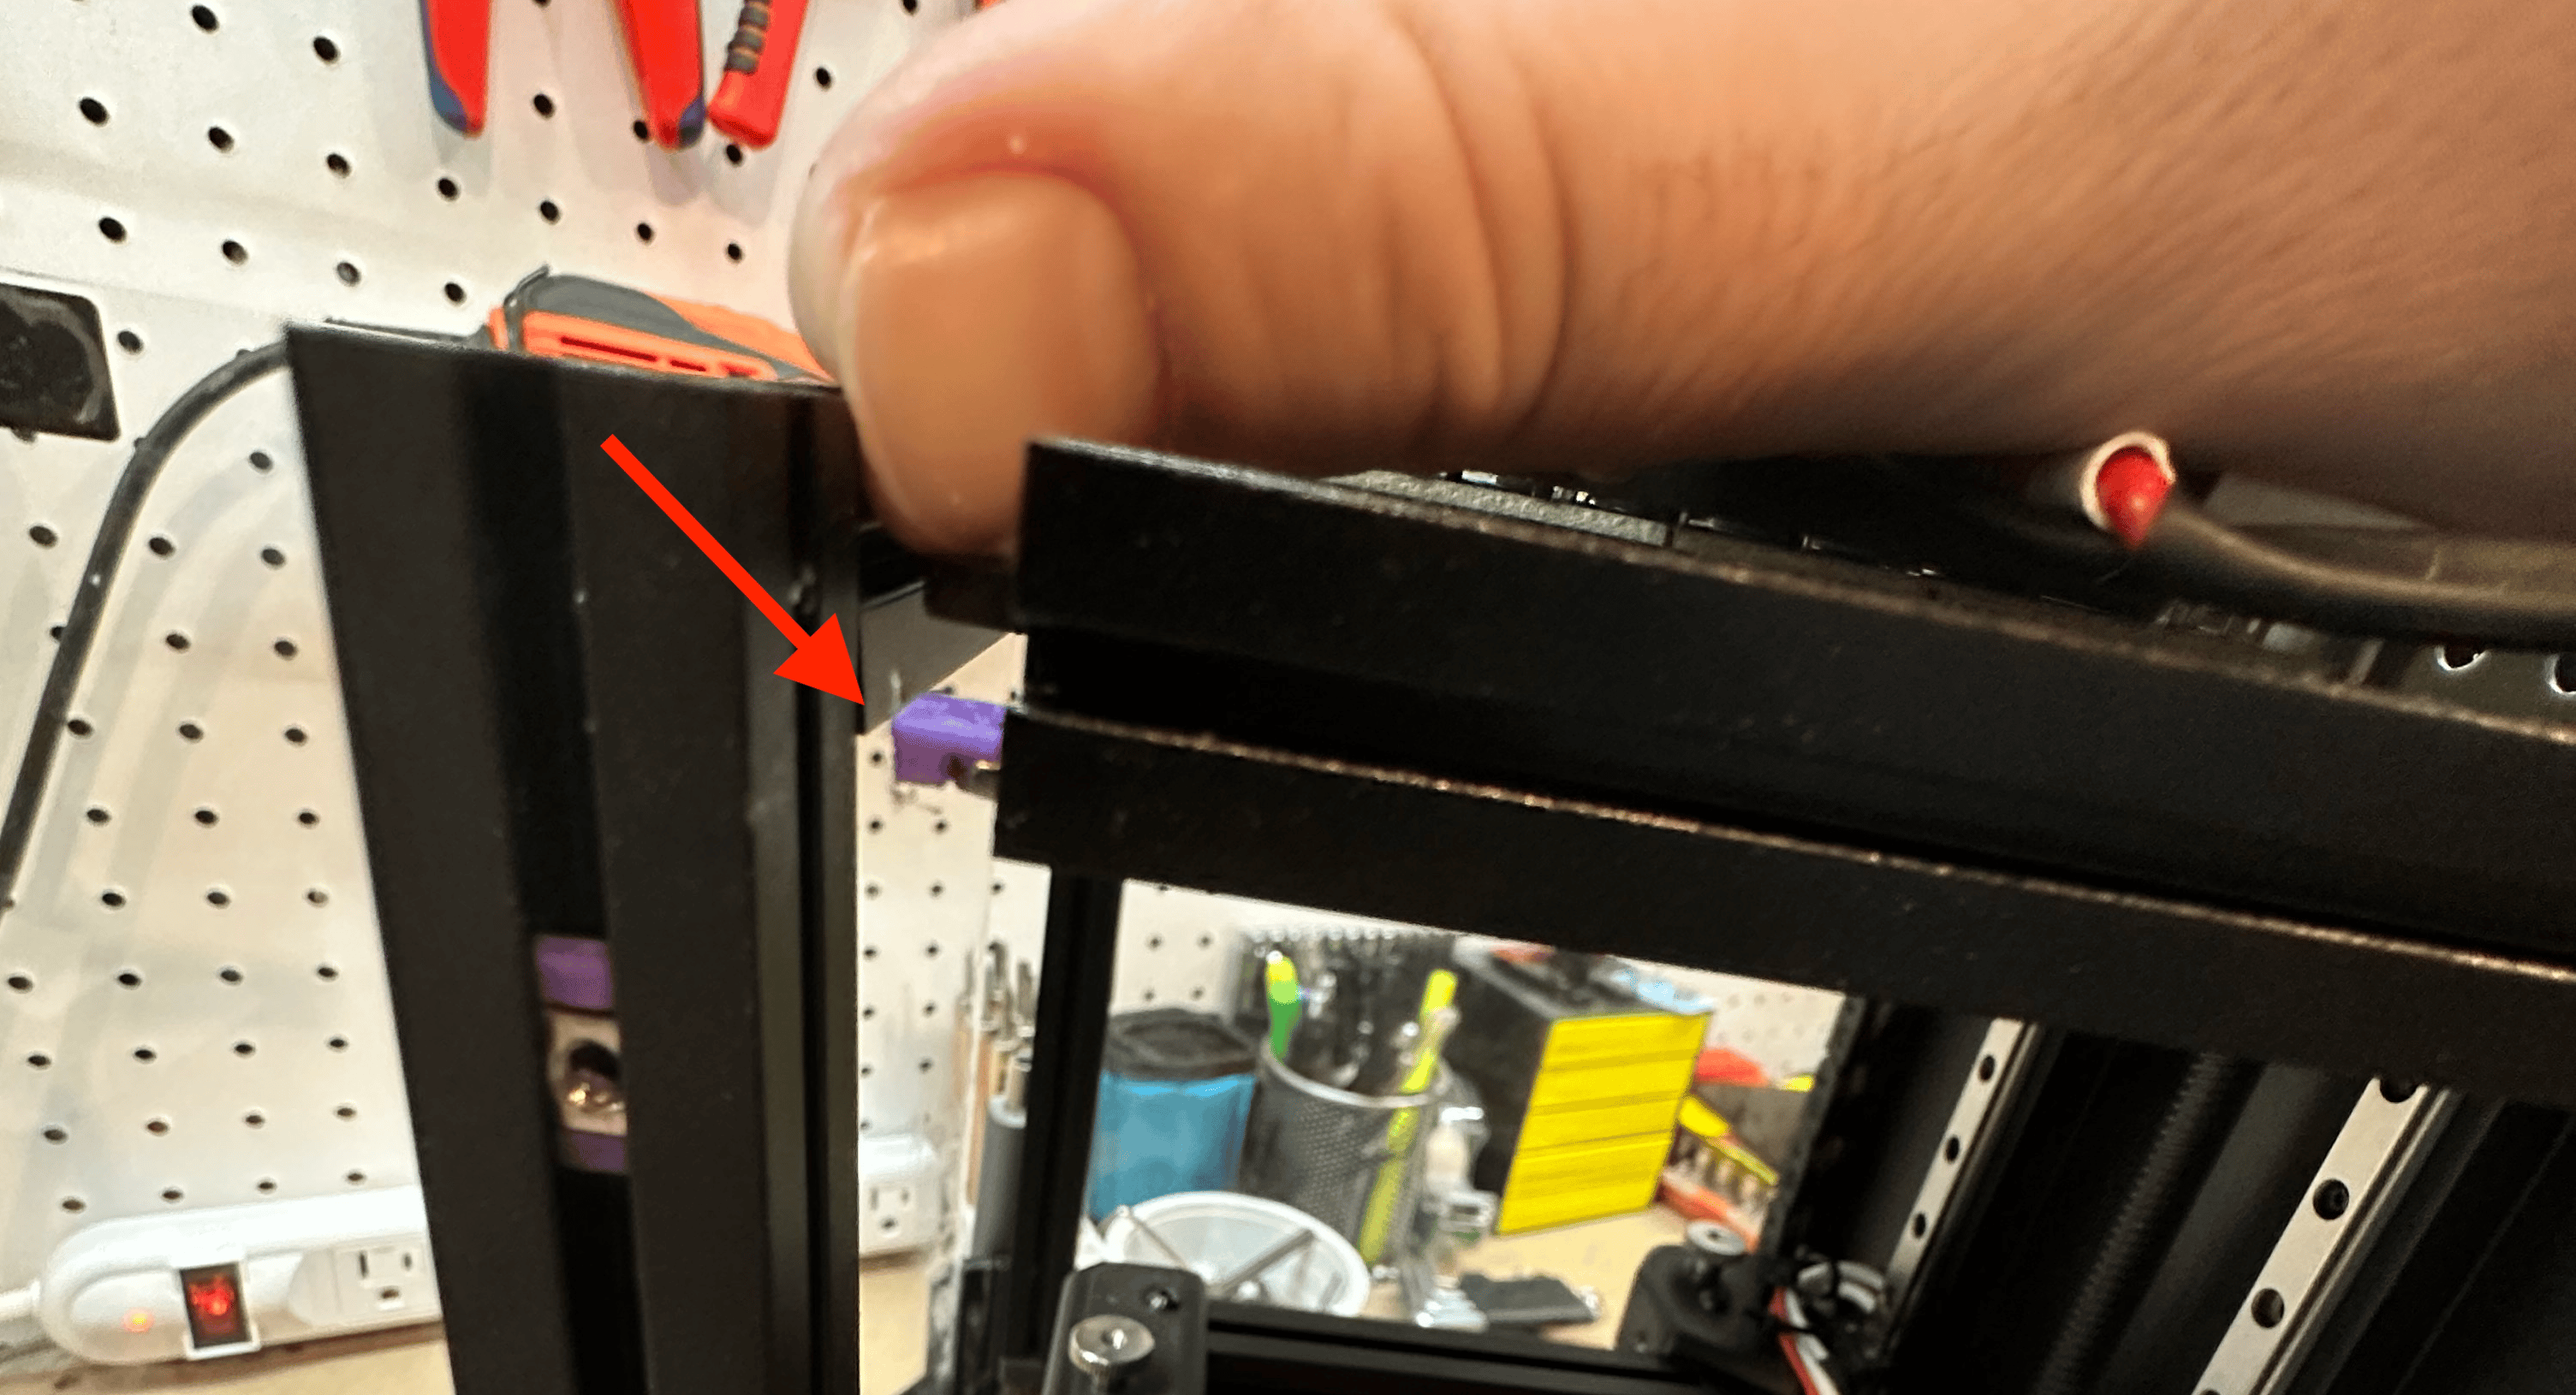
This is by far the worst part of any Voron 0 mods… inserting nuts into the extrusion. I succeeded by removing the extrusion screw and by prying the frame. It did the work but I was afraid it would break the frame… it did not. I do not know of a better method as of now.
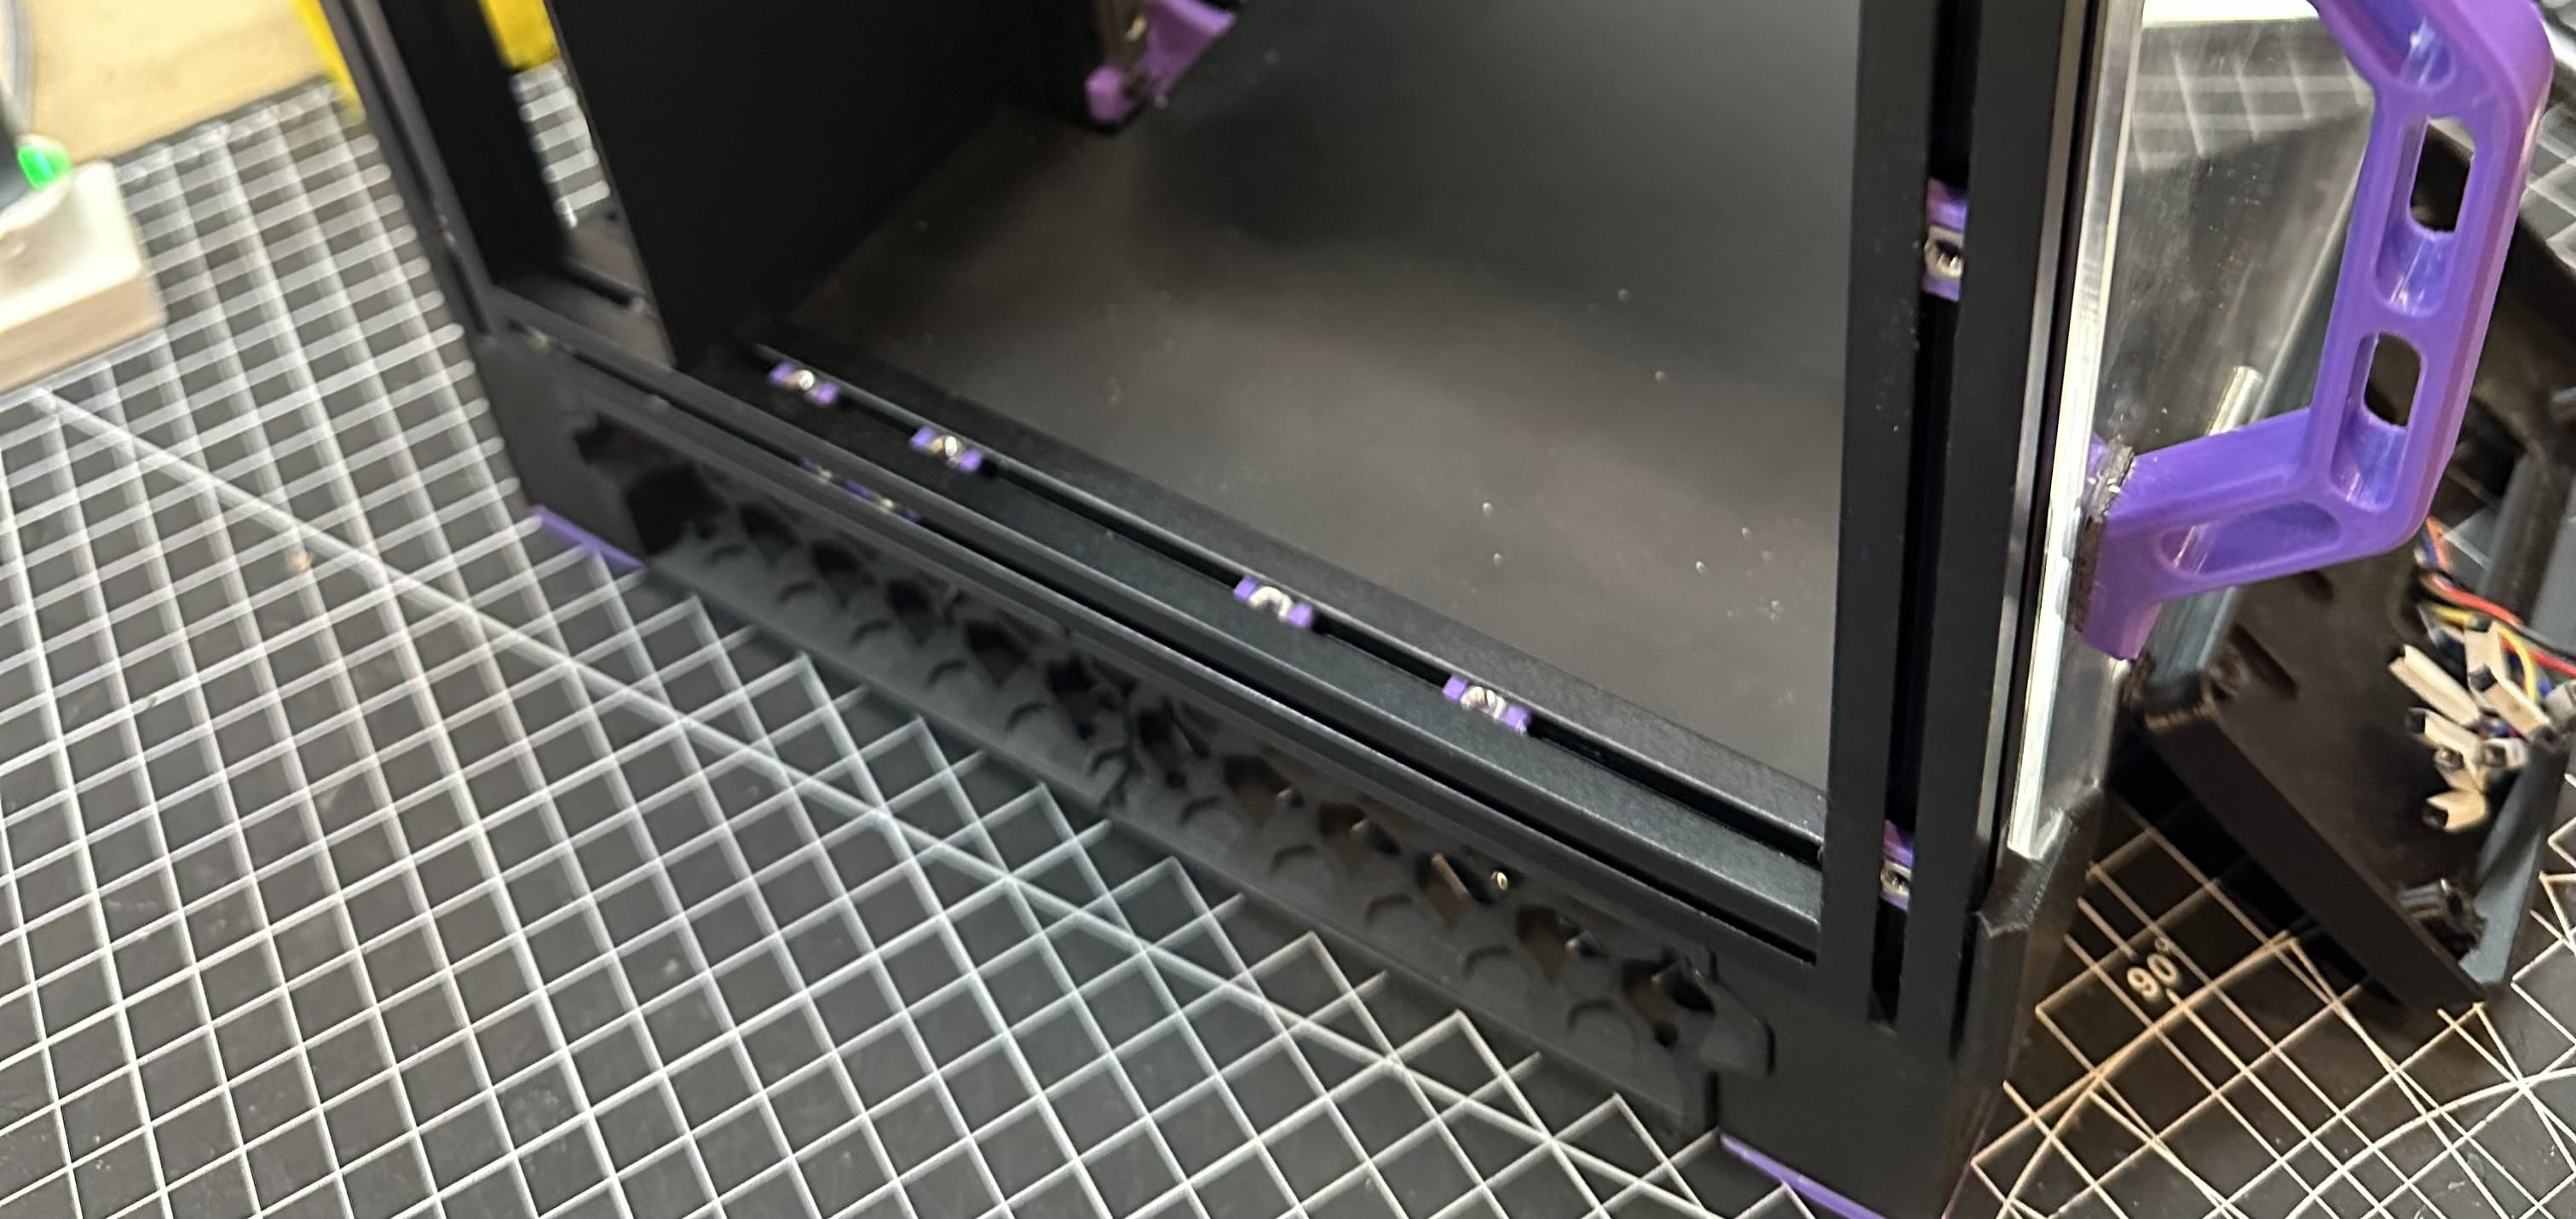
Adding 4 M3 T-Nuts to the floor left extrusion. The Voron is upside down in the left picture.
Mount
Using 4x M3×6, add both mounting brackets. And finally 2x M3×10 to solidify the Nevermore to the brackets.
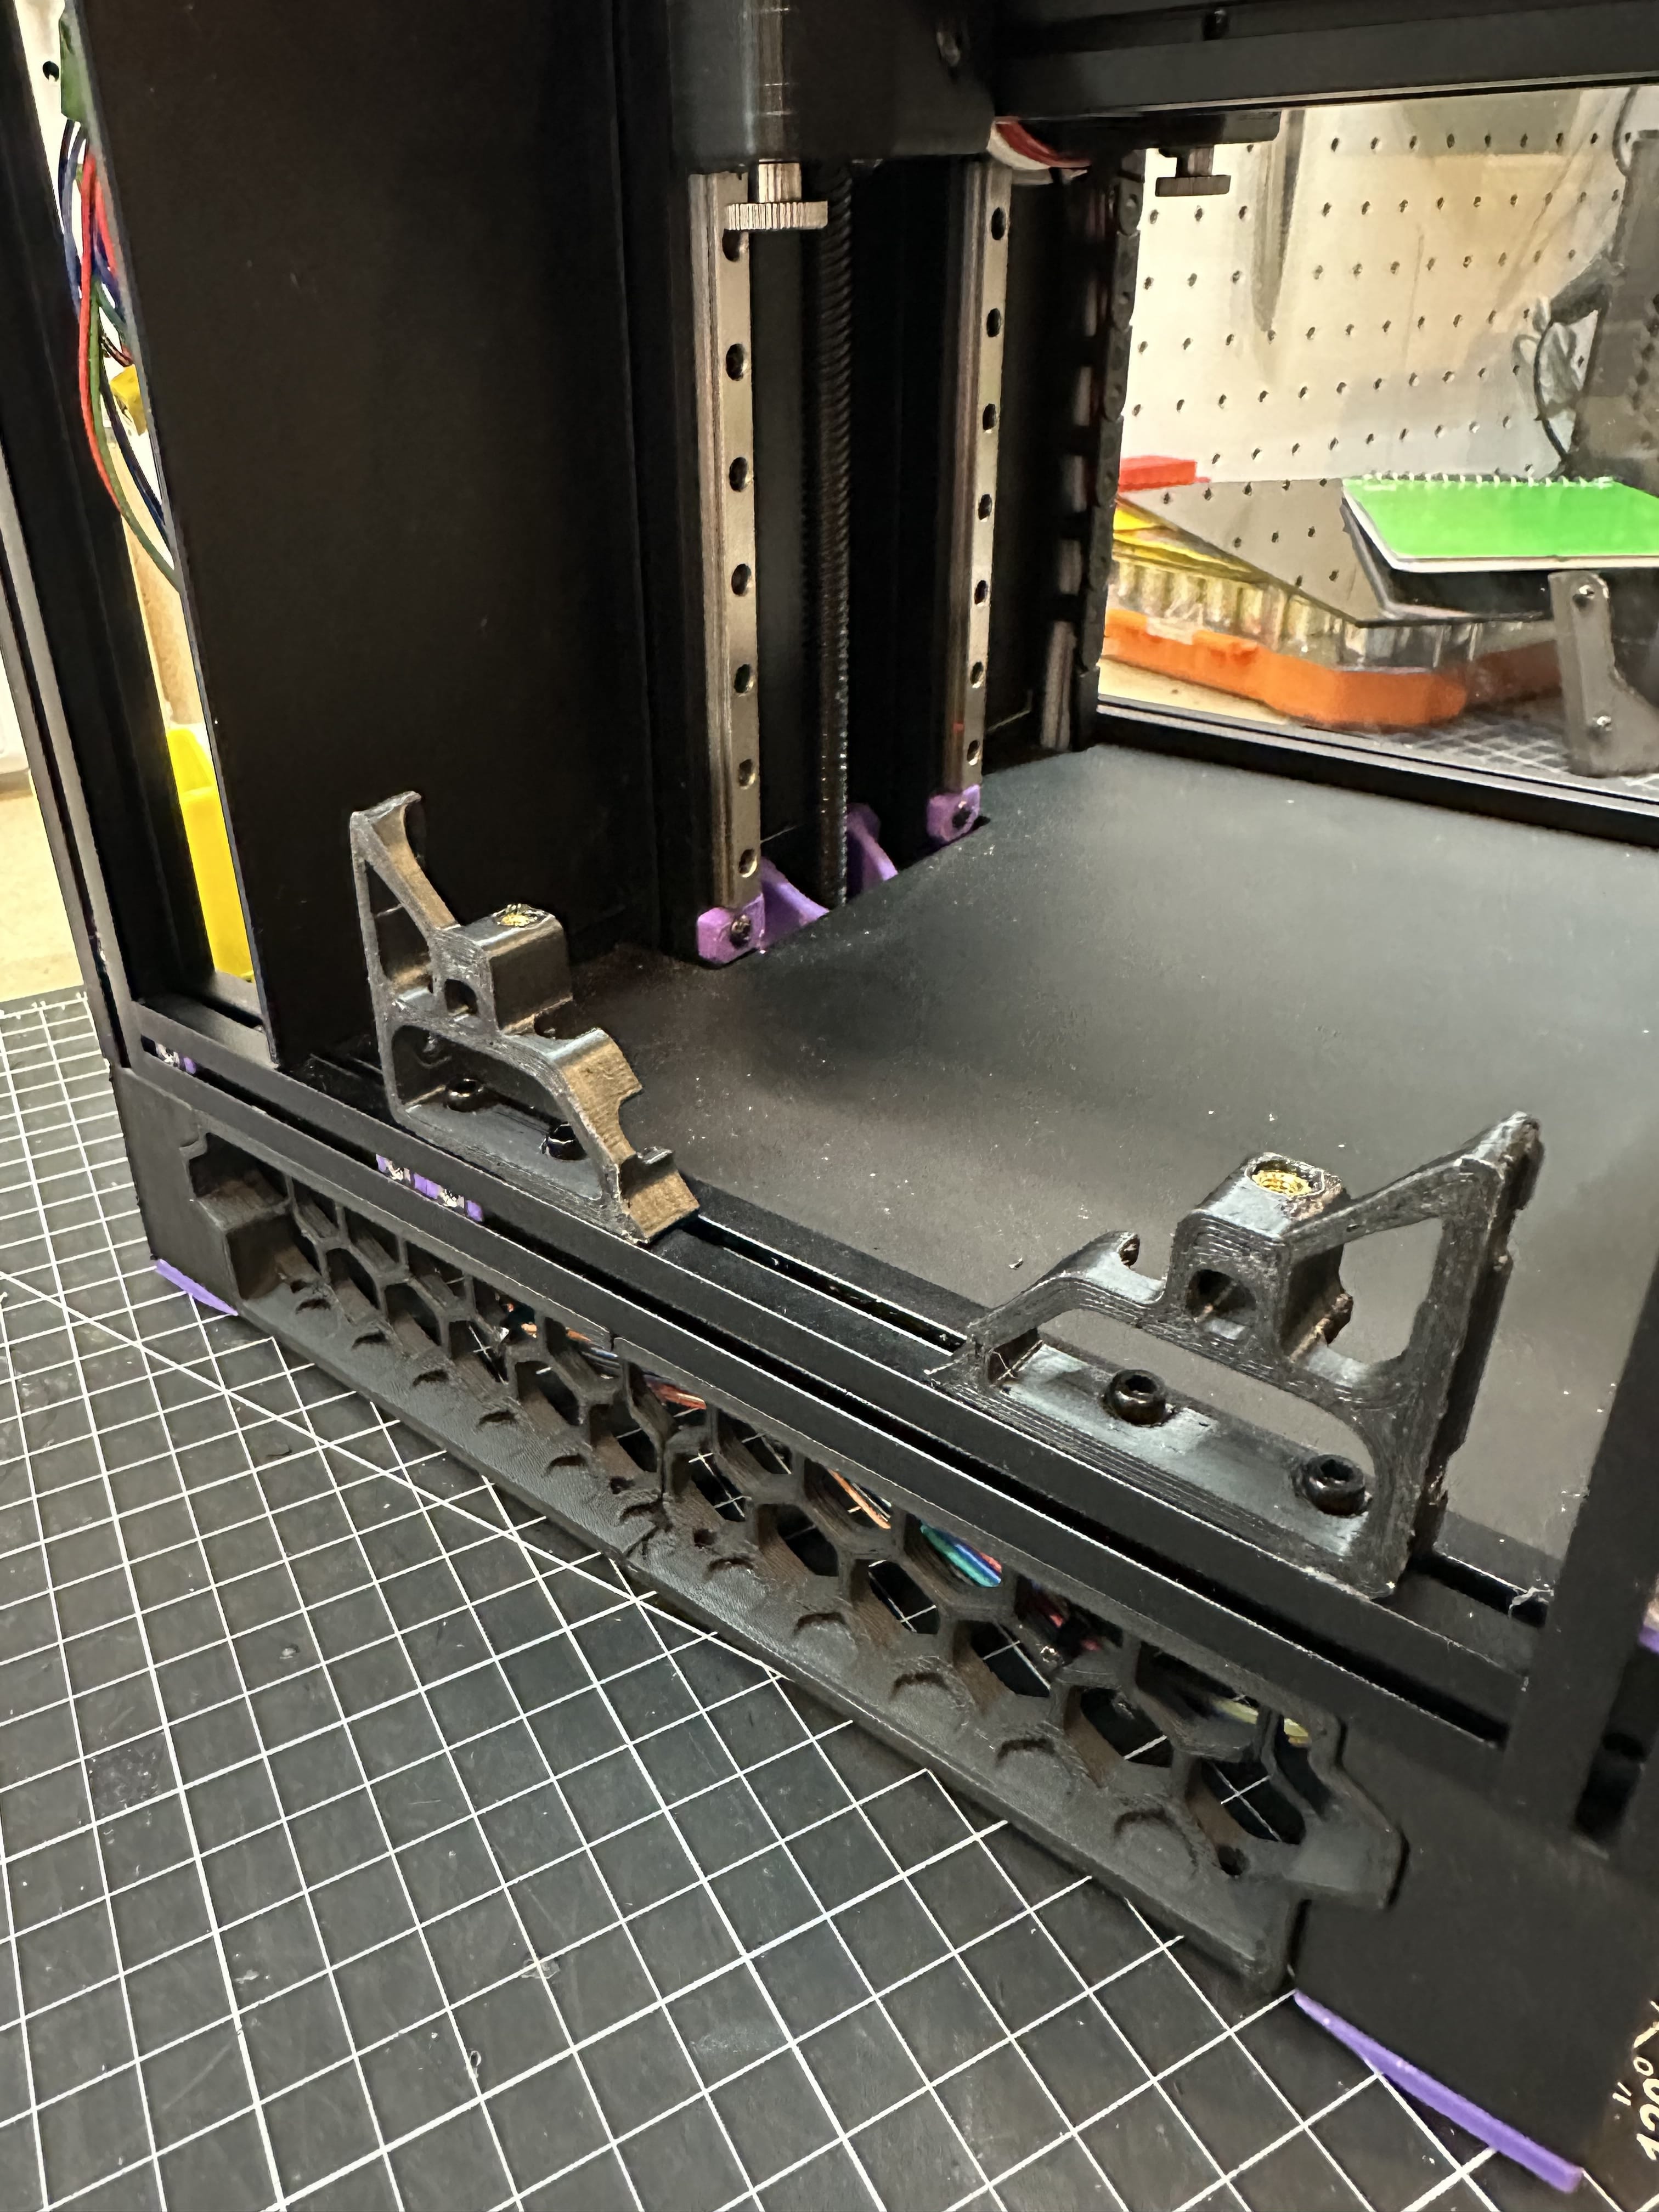
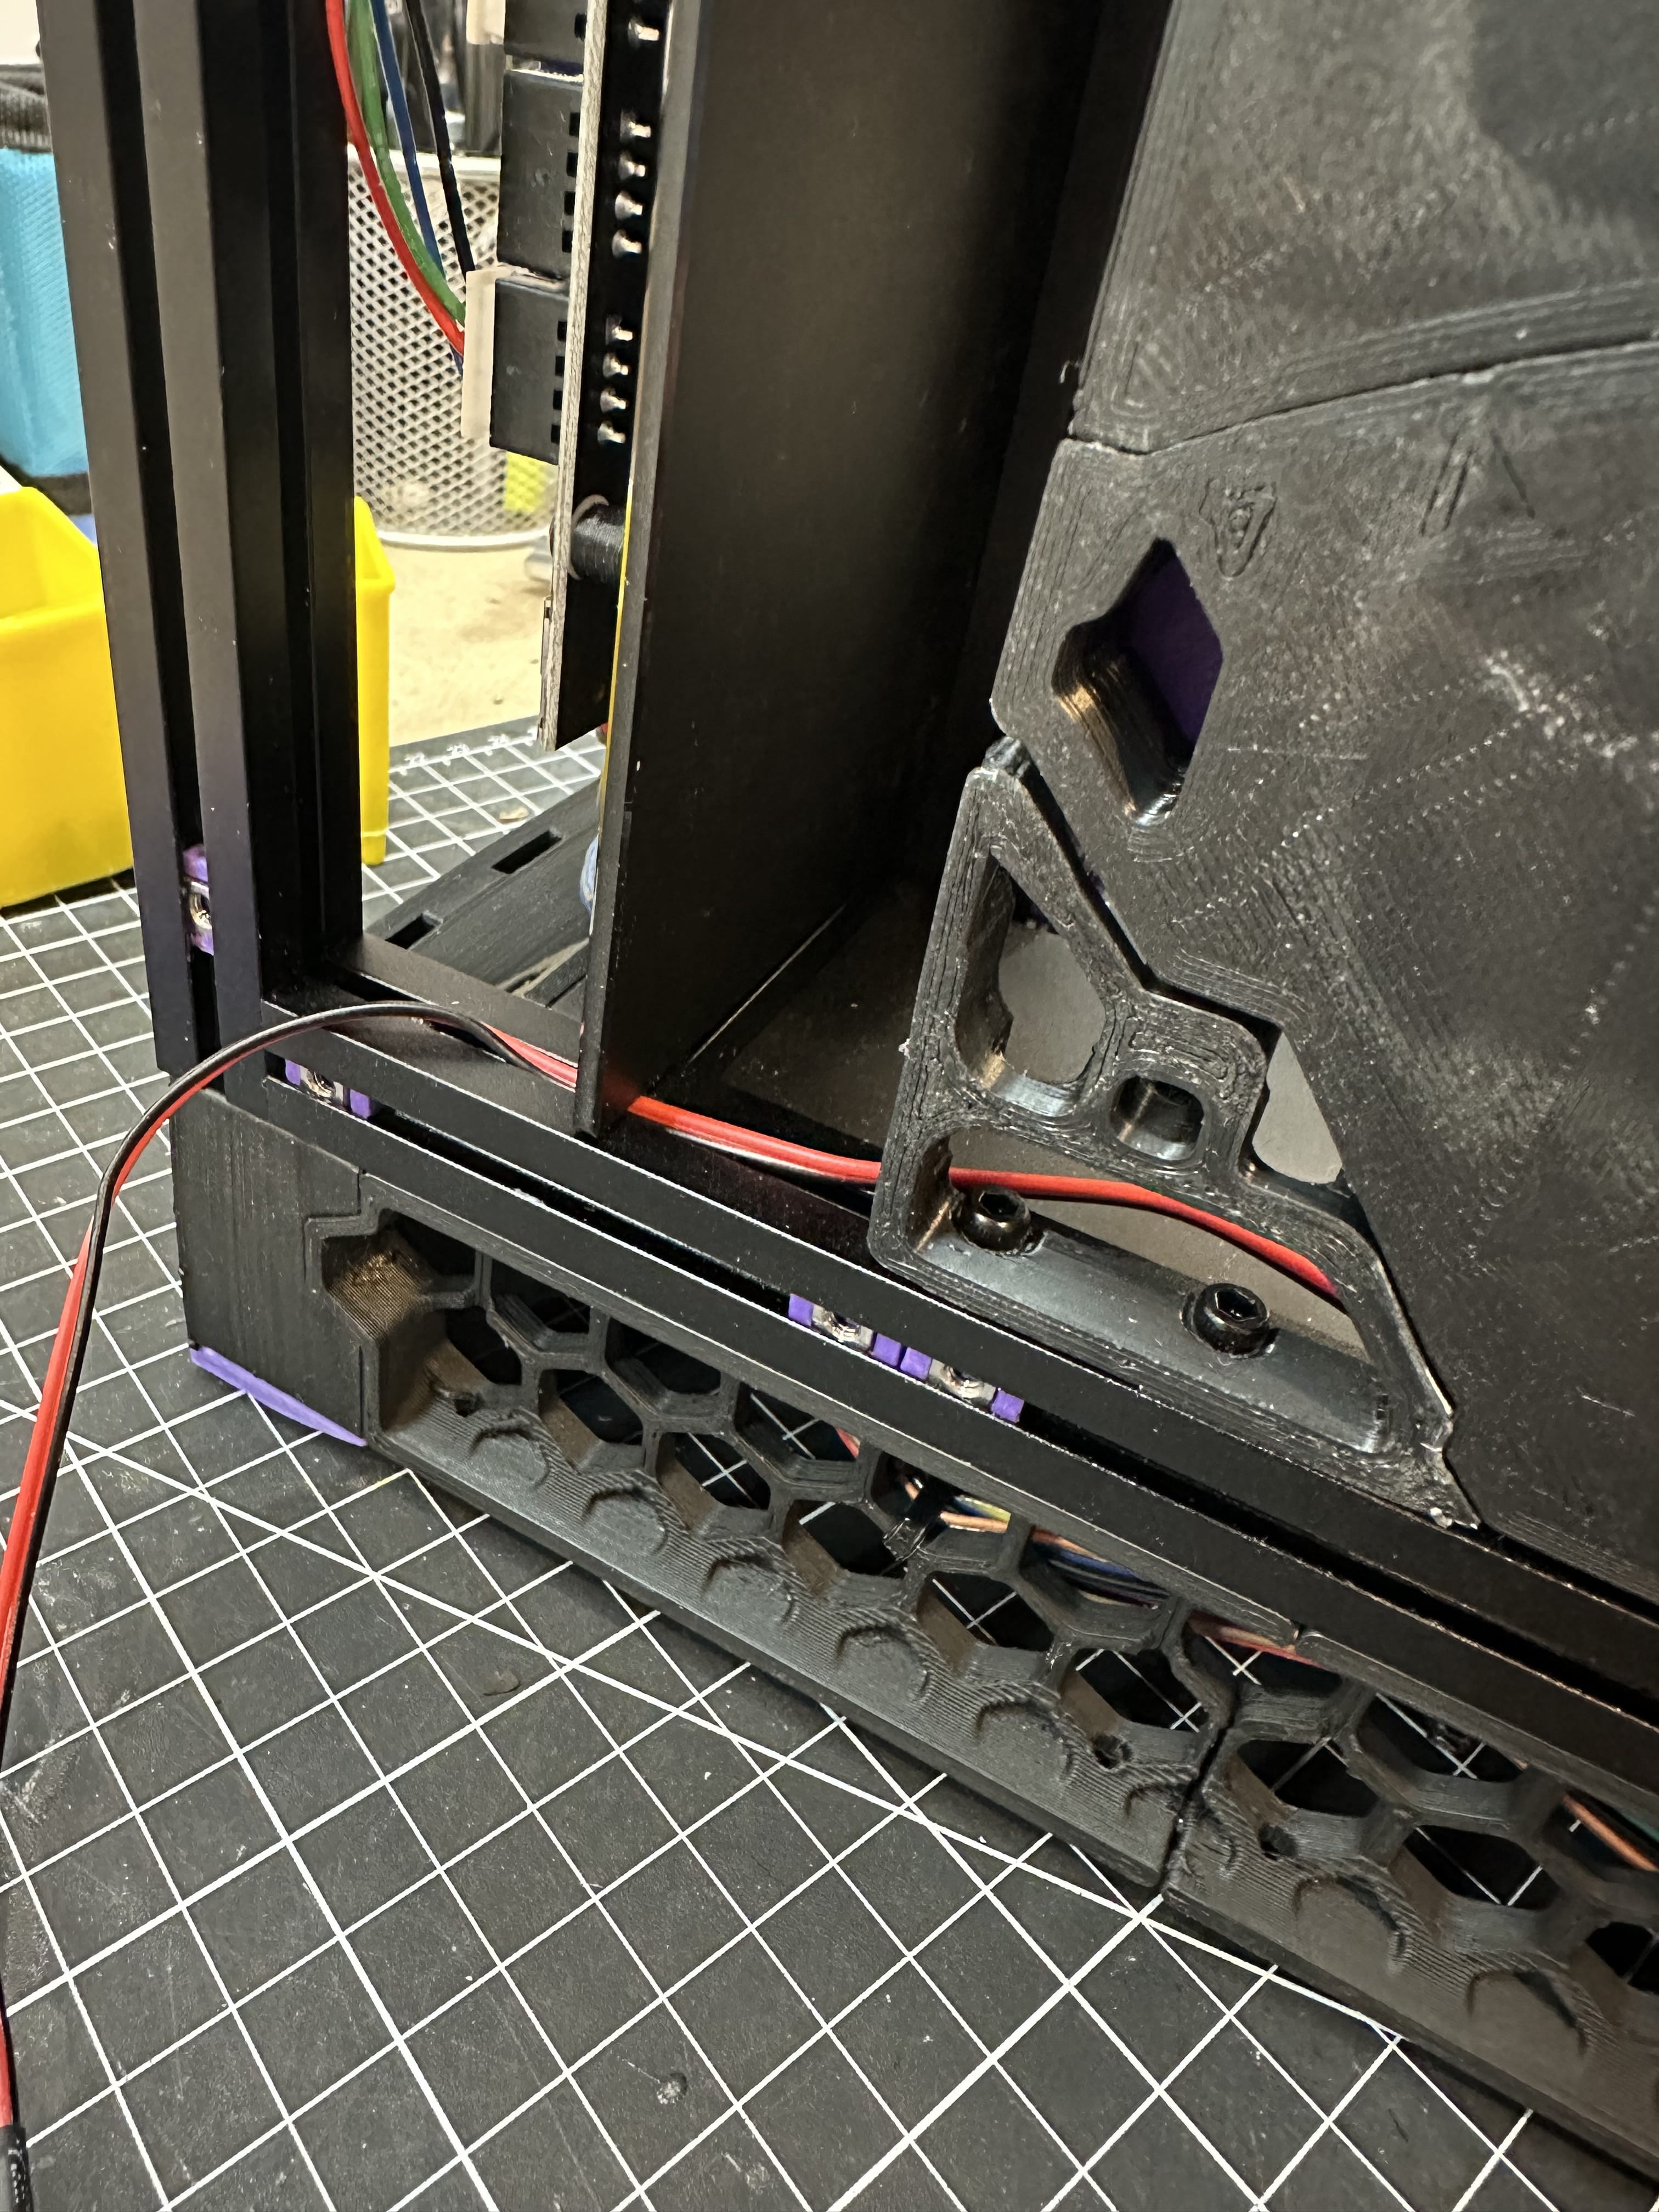
Fun and easy part, we finally mount the Nevermore Micro 🎉
Wiring
Finally, plug the fan’s wire into the Klipper Expander module. I used the P0 as seen in the Klipper Expander documentation. The final wire doesn’t have the same color than the initial wire. I had to extend it. As always, color doesn’t mean anything when wiring. Be careful :)
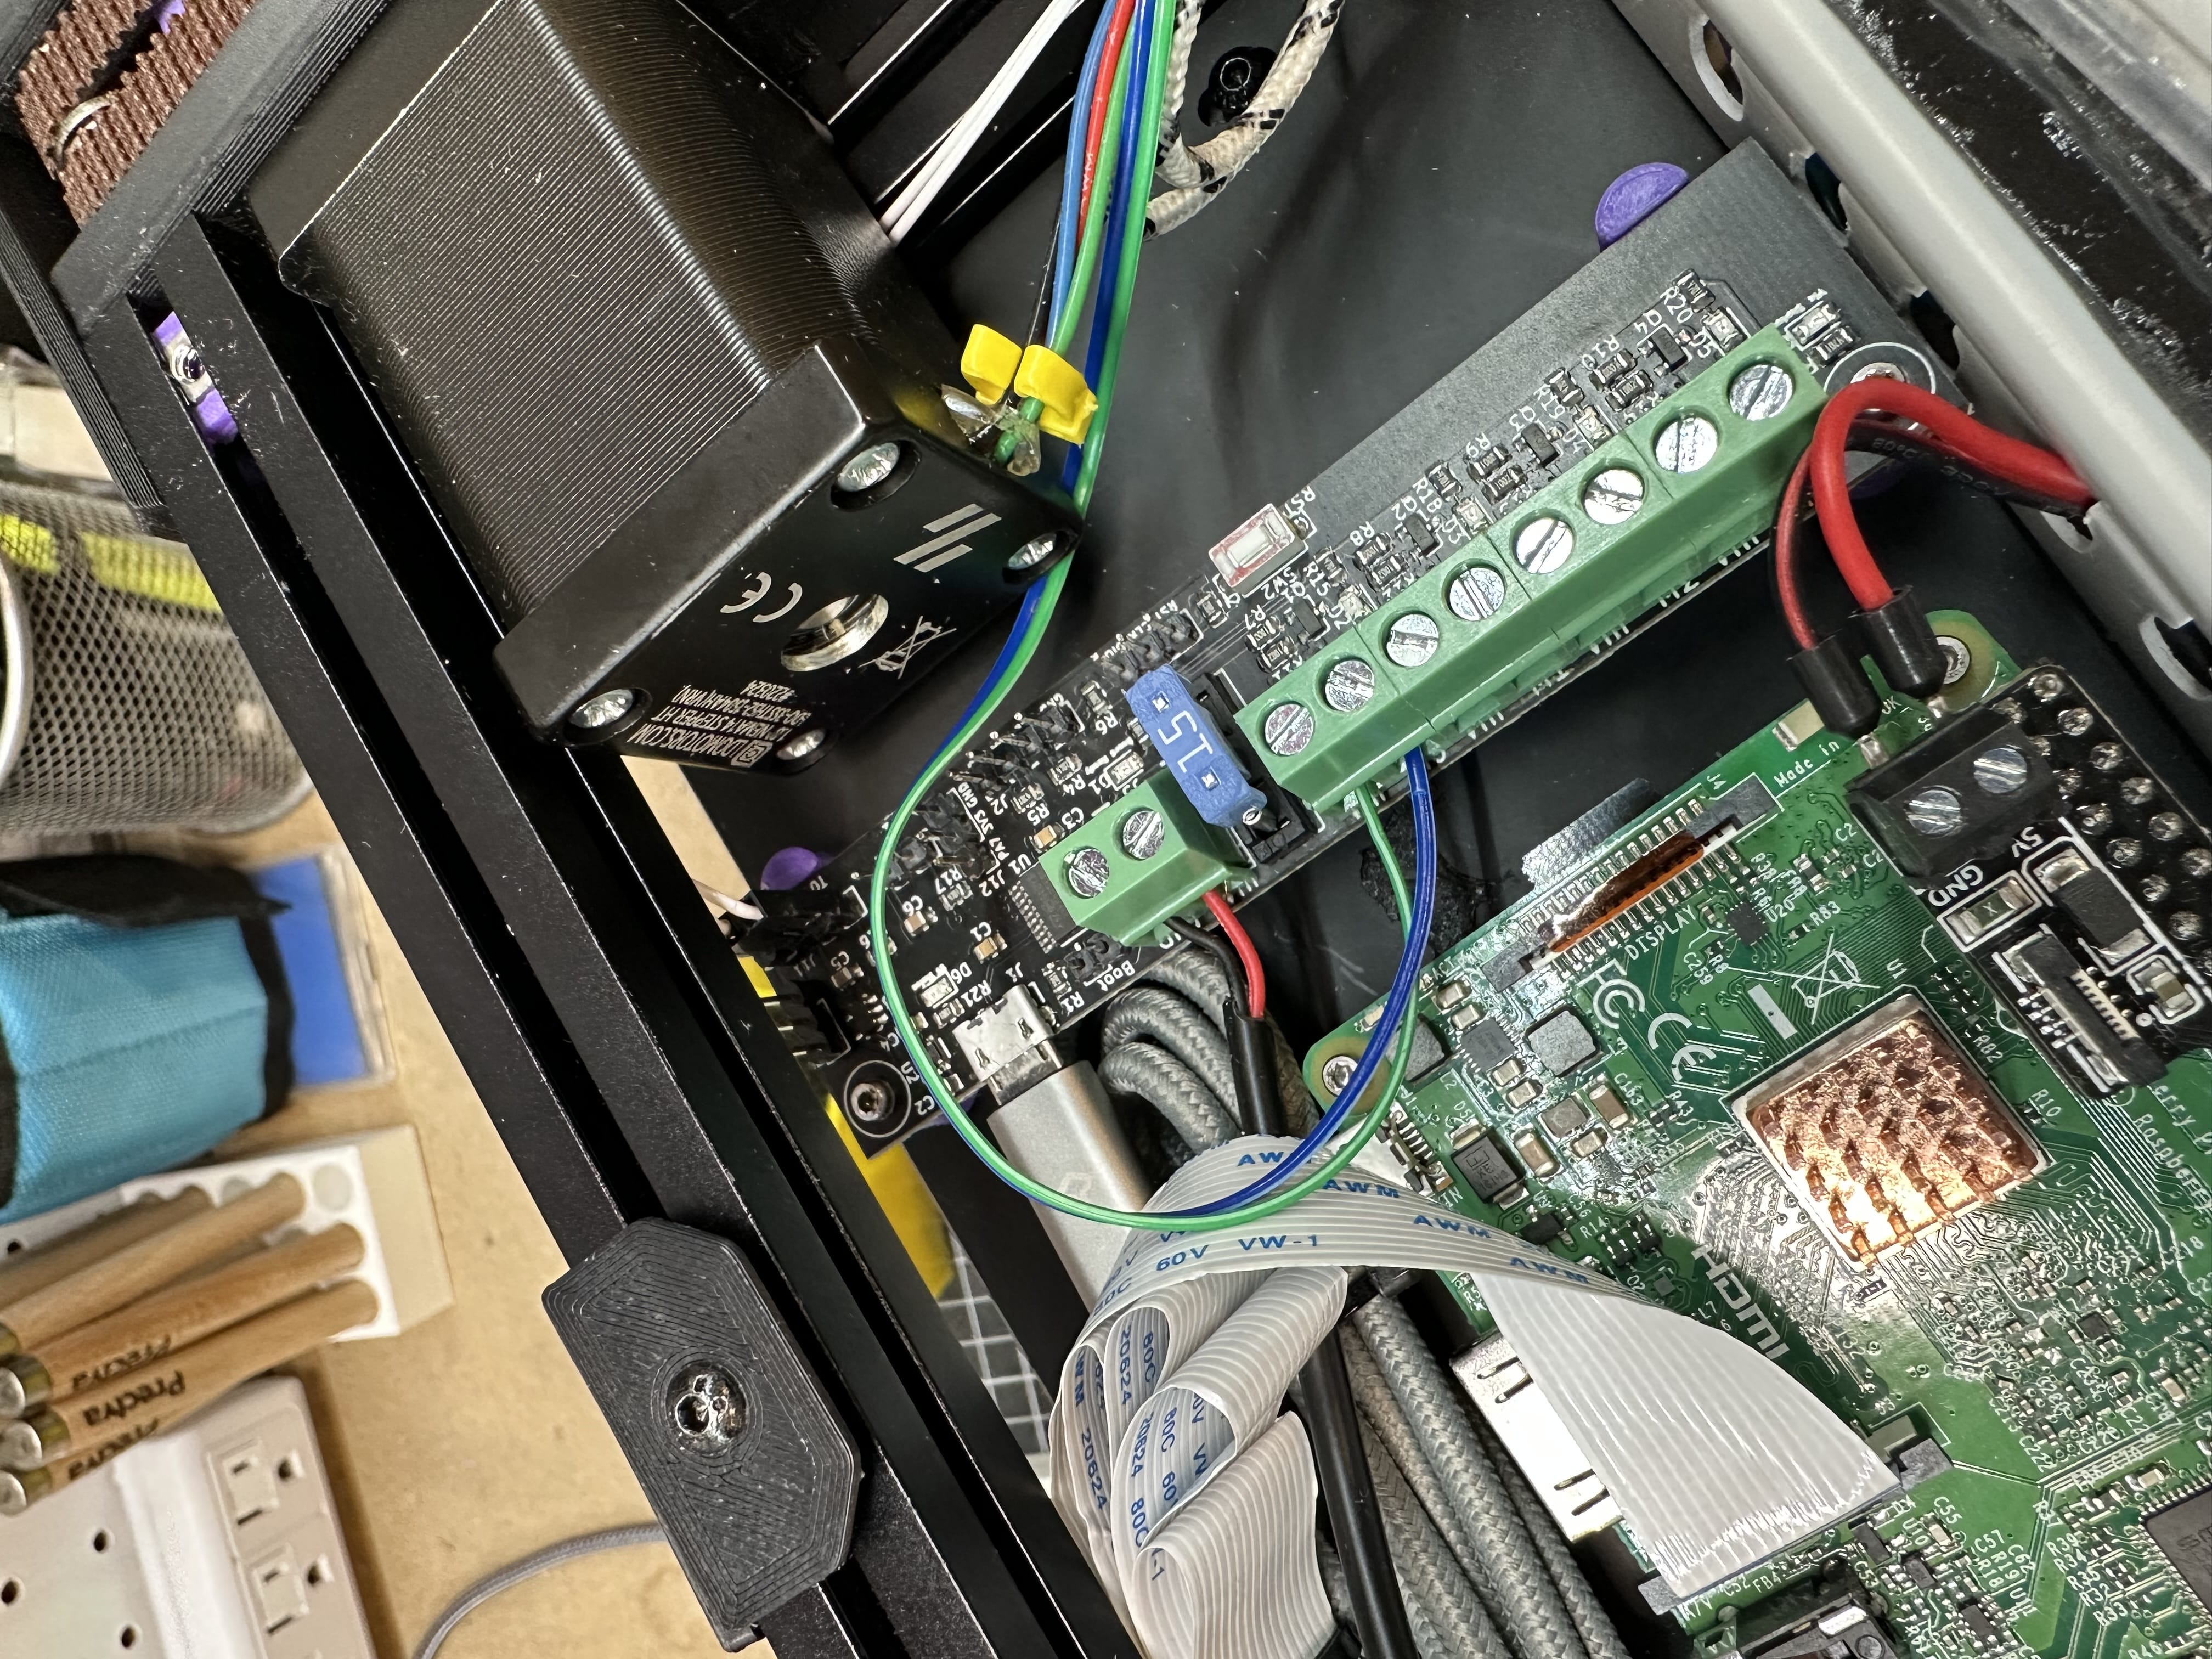
Green is red, blue is black.
Configuration
I used this configuration I found on GitHub and it worked out of the box. Of course, I’ll have to dig in a little bit since I’m not that familiar with Klipper configuration as of this build. Sounds like the perfect timing to dig down and customize this script.
The only thing that is really linked to my setup is the expander:PA0 since this is were I plugged in my fan.
###################################################################### Nevermore#####################################################################[fan_generic Nevermore]pin: expander:PA0[menu __main __control __nevermoreonoff]type: commandname: Nevermore {'ON' if printer['fan_generic Nevermore'].speed > 0 else 'OFF'}enable: {'fan_generic Nevermore' in printer}gcode:TOGGLE_NEVERMORE[menu __main __control __filterspeed]type: inputenable: {'fan_generic Nevermore' in printer}name: Filter %: {'%3d' % (menu.input*100)}%input: {printer["fan_generic Nevermore"].speed}input_min: 0input_max: 1input_step: 0.1gcode:SET_FAN_SPEED FAN=Nevermore SPEED={menu.input}[delayed_gcode filter_off]gcode:SET_FAN_SPEED FAN=Nevermore SPEED=0[gcode_macro TOGGLE_NEVERMORE]gcode:{% if printer['fan_generic Nevermore'].speed > 0 %}SET_FAN_SPEED FAN=Nevermore SPEED=0{% else %}SET_FAN_SPEED FAN=Nevermore SPEED=1{% endif %}
Result
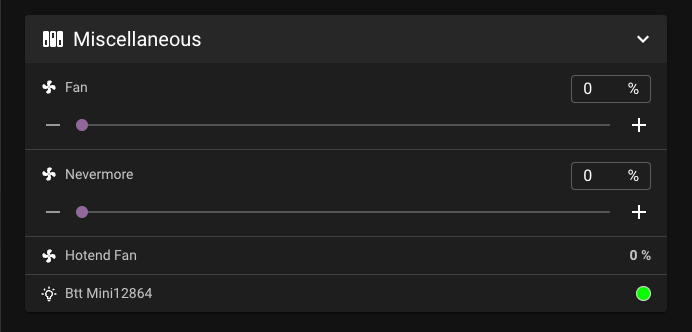
There it is! I still have to activate it manually but it does work well for the moment 🎉
✌️